Onto part 2 of my build, adding the hull frames from issue 1 to issue 6, after having laid the 'keel' parts down on the build board and making sure it is 100% flat and following the centre line I can now start the frames that have already been made up since Issue 1. All the beams in each frame are not glued and as such will need to be removed at some point, but as I progress by adding the frames I've kept them in to make sure the hull frames stay square.
I've started to mark the lower tabs (for use of a better description) that need gluing to the main keel, again its worth having a good look to see what areas do need gluing before attempting to attached the parts to the keel.
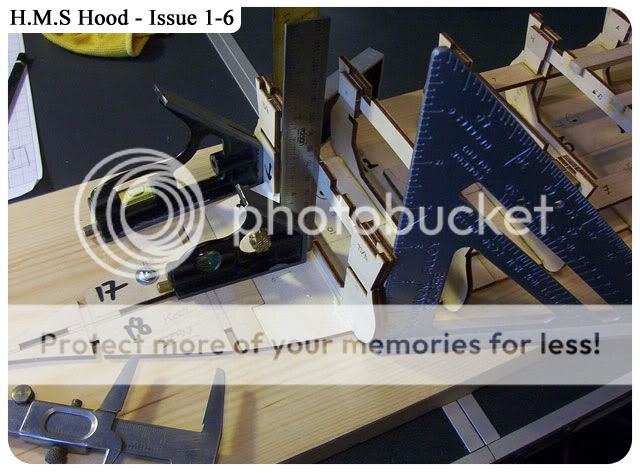
I've followed the magazine's order of hull frames, and here I've started with frame 2, notice the use of many set squares, I've used this same method during my early stages of the HMS Victory build, it works, check, check and double check, then glue...check again! It all sounds daunting to the first timer but the time spent is well worth it. You don't have to use these types of set squares but something that has a perfect right angle, I've seen Lego used..its works. The centre beam is left in to help check it's at 90 degrees.
After a few hull frames have been positioned and glued I go along to check the gap between each frame on both side with a vernier calliper, this is just me wanting to be 100% sure everything is correct.
The same on the other side of the 2 hull frames, if its out by say 1 or 2mm then it's not going to be a problem but if we are talking 5mm or above then I'll adjust while the glue is curing. As I use Aliphatic wood glue the curing/drying time is less than traditional white wood glue so it's possible to butt one of the right angle set square's up against the frame to loose the 5mm or whatever it is, give it 20mins and it's dried and both sides are equal.
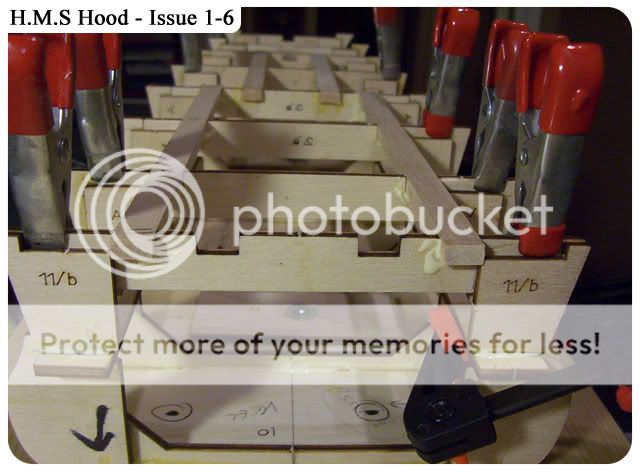
Again following the magazine's order of construction I'm adding the crossbeam to the frames and adding a little weight, nothing to heavy, this section of beams will in the near future be part of the deck and will be able to be removed.
Nice top view showing the use of 'many' set squares. Now that I have the wood covered by the clear film I don't have to worry about sticking to my build board.
One of the side rails being held in place with a small cheap clamp, again its worth double checking before you commit to gluing that the piece fits nice and snug, don't force it in.
The stern area having frames added, time spent checking now is time you don't spending fixing problems in the future when you discover your boat has a banana shape to it.
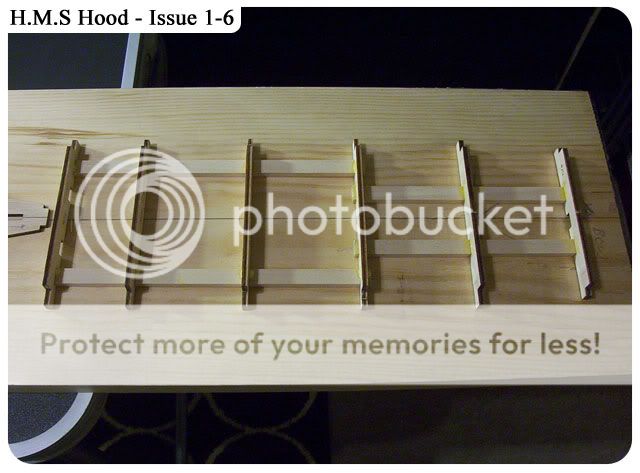
Adding the other beams to the frames here I noticed how close they were to the tabs and frame supports, I didn't want to have the glue too close to those parts which would then dry and make it impossible to pull this section out. At least I wanted to prevent a possible problem, so I lifted the beams out a little and held them in place with some clips then added the beams.
Once it has dried you can take it out, just check to see how easy it actually is to remove or put back in place, I found the tabs needs a little more sanding so as to prevent either forcing it in or out in the future.
I think this will serve as the base for the main deck, so it will be so much easier to remove and work on any deck furniture this way rather than sitting on the main hull.
More work on the stern area, just double check they fit well before gluing.
When adding this part (18) to your build board again double check your centre line, I found this fits quite tight, which was a good thing actually as this part will take more frames in further issues.
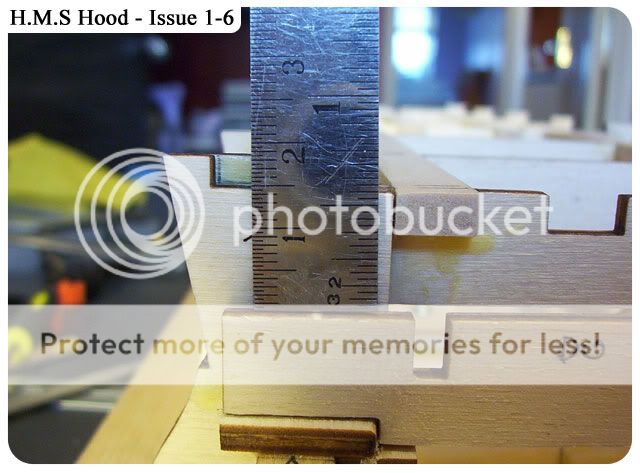
The stern part of the ship, when you look at a picture of the HMS Hood it is the rear end that looks lower in the water to the other decks, that is the area in the picture, part 21 butts up against frame 11, just make sure part 21 sits square and not up at one side or the other, it had occurred to me that if the decking is laid over this section it needs to be dead square against frame 11.
Simply get your rule and measure, if it too high on one side then sand a little from beam 21, or until your happy it sit square and equal on both side.
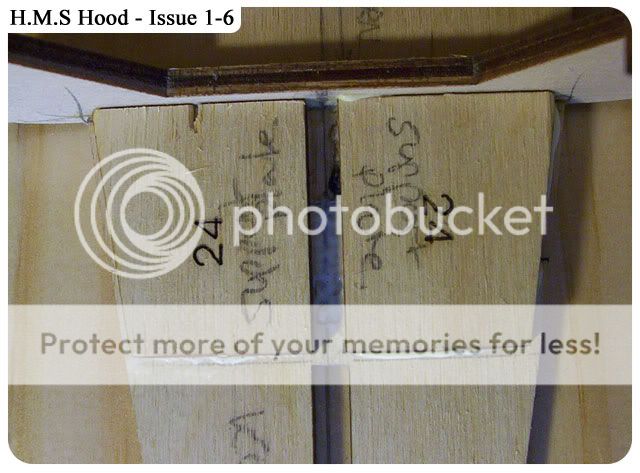
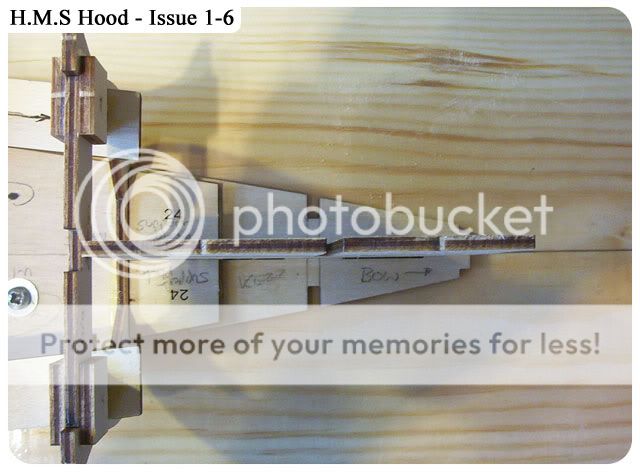
Parts 24 that add as supports for the keel sections are laid not as suggested by the magazine but butted up against the upright part 25/a.
As you can see here part 25/a sit's nice and snug with support parts 24 either side, this part will have more frames added in future issue and as such I've not glued this down onto the keel yet. Notice how part 25/a butts up against hull frame 9/a.
The stern area all glued and the removable parts checked, maybe a little sanding on the tabs to prevent any pulling or breakage on this section. This will be the R/C area, only a guess mind. :)
A final view of the HMS Hood is her early stages, all screwed down and ready for Wednesdays Issue 7.







No comments:
Post a Comment