Issue 9 comes with parts for the stern area (rear end) of the Hood, still no new pictures on the front cover (no more of that), but what we have now is parts to add to the length of this monster, total size after completion of this issue is 1108mm (46 & quarter inches), that's 5 inches short of the 1314mm of the finished model.
At the end of this issue I've again showed the comparison to the plans I have, and they look superb, I was unsure if the plans were showing the true scale of this model..I was wrong, I think it maybe a mill or two bigger than the model but that's not a problem. There are a few steps in the magazine you need to be aware of, so read before you glue or even take any parts from the ply fret. Issue 10 shows the stern area beams and side panels, to strengthen the stern.
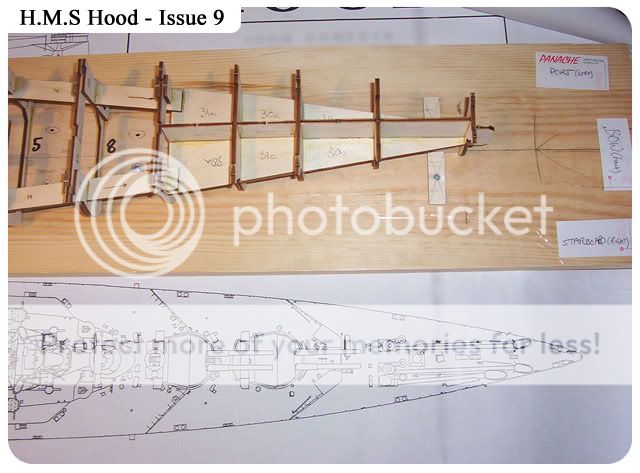
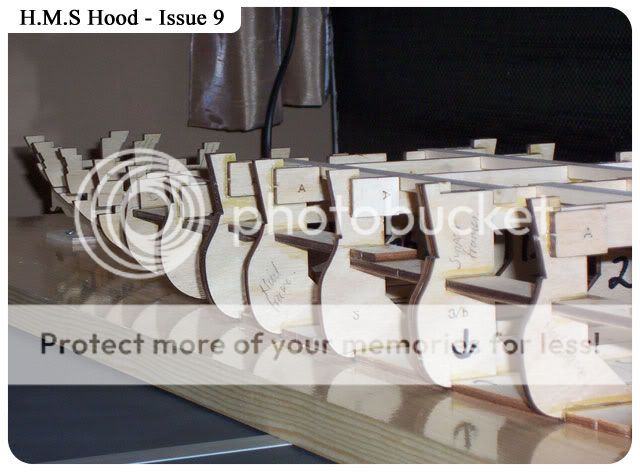
Once again the fret has no numbers on it so copy from magazine, also mark up as shown all the lines and beware of frames 38 and 39, more of that below.
Parts 38 and 39 are not identical on both side, the magazine instructions point this out in steps 9 and 11, I marked these all up before cutting them from the ply fret.
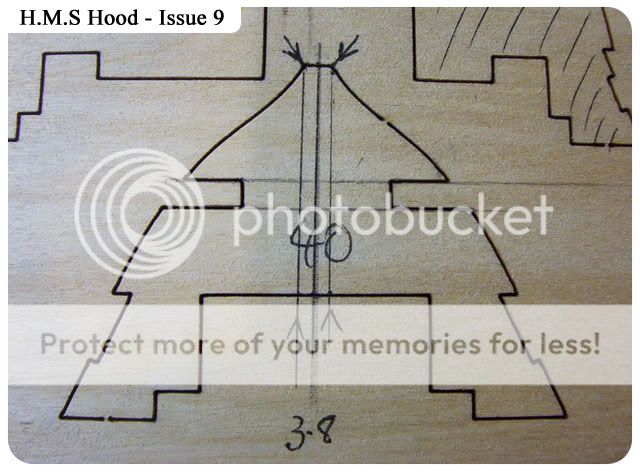
Here part 40 needs to be marked, this comes at step 13 at the end of the magazine instruction, this is why it's worth doing this right at the start.
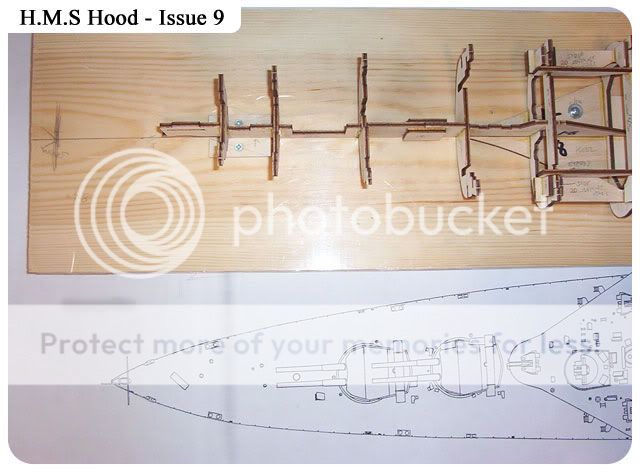
Part 35 here placed up against the plans, you can now see exactly where we are in comparison to the plans.
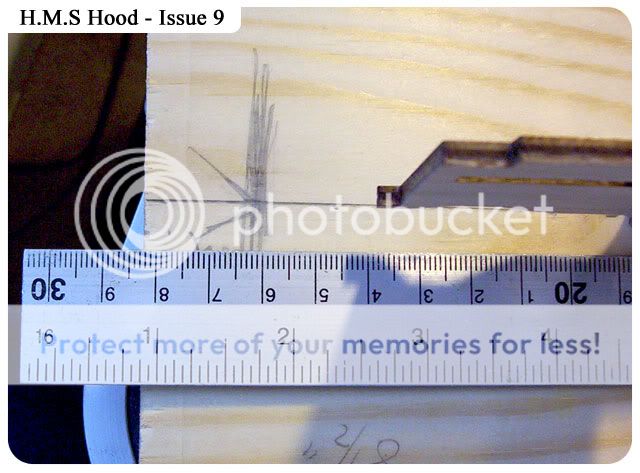
With part 35 added to my model on the build board and measuring what is left to add you can see it will over hang, so I had to take the screws out and move the model further up. I reckon we have at least another 2 and a half inches on the stern to add.
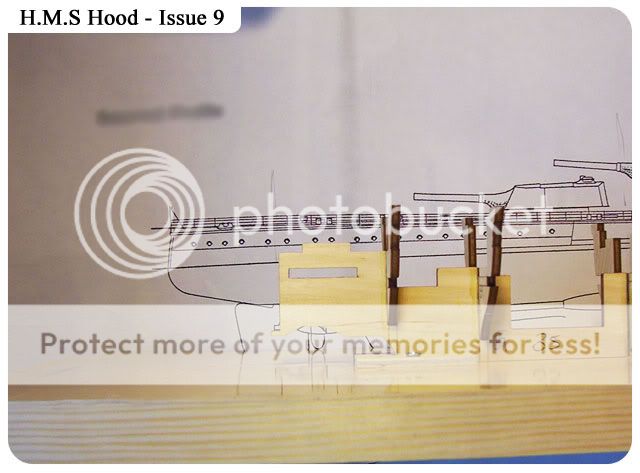
And at the bow the ruler is placed where more needs to be added to finish the bow, at least another 2 inches.
Time to unscrew the model, as I have the plastic covering over the wood it came away with no mess or fuss, placing it back by moving it up at least 2 inches gives me enough room at both the bow and stern. It wont move again until the planking starts.
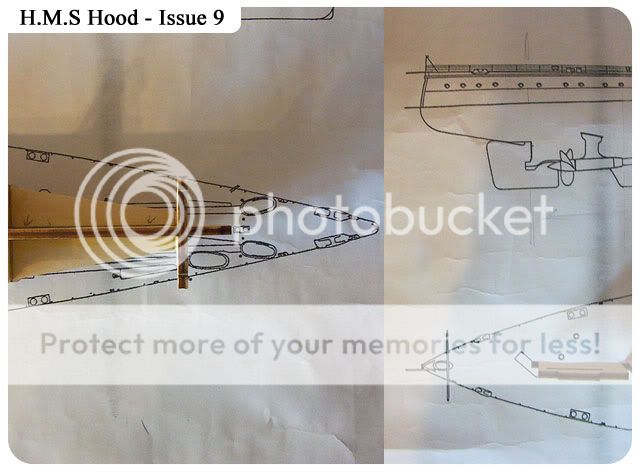
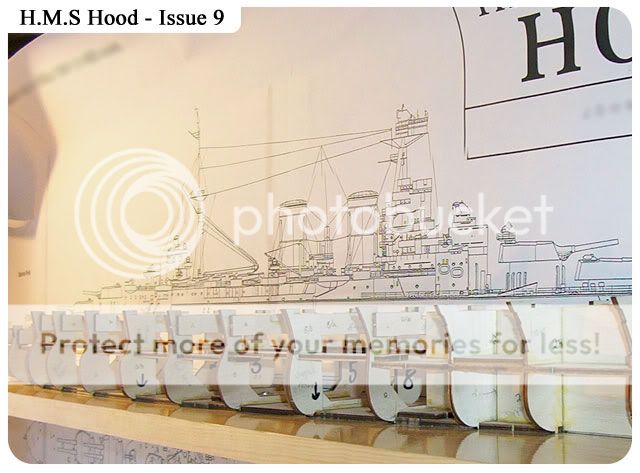
While the model is away from the build board I though I'd compare with the plans, I think the result speaks for itself.
The bow in it's new position, plenty of room to work.
I decided to just glue these 2 parts first..parts 35 and previous part 18, making sure this followed my centre line (see small inset picture)
Then as I did at the bow add some scrap wood to hold the stern parts dead centre of my line, these were cut from the ply fret.
Then add the support panels.
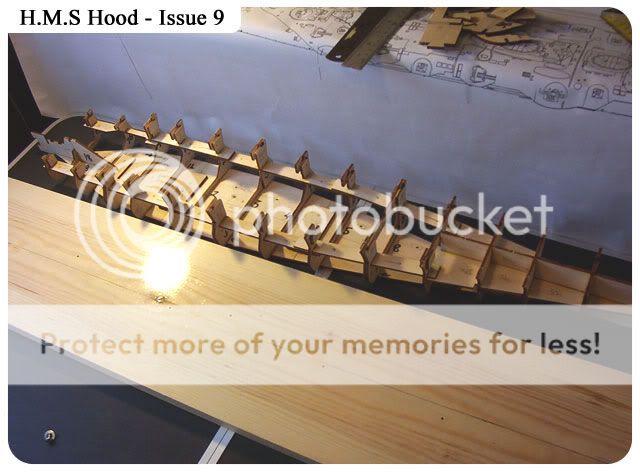
Starting to add the frames here with part 37, what I did find by dry fitting first was how loose they seemed compared to the other frames, so I needed to be 100% sure I could keep the frame square both length ways and measure the distance between the previous issues frames, maybe overkill but I want to be sure they are dead right. I measured with callipers.
The same applies to the next frame (part 38) making sure you have the frame the correct way around as shown here with port side marked. Dry fit first as this frame again was a loose fit.
I think most would agree that time spent making sure these frames are spot on in regards to squareness to the main keel and other previous frames, if your building this without a build board and a centre line you risk some problems in the coming months/years.
The final part in issue 9 needs a little more attention (see steps 13 and 14 in the magazine), if you can mark this part up before taking off the ply fret then you give yourself an easier tsak getting the centre line on the frame and in turn getting the 3.8mm guideline. I've just packed the area out to help hold this part in place.
Issue 9 completed, it may seem a little over the top on the way I have approached this build so far but believe me any model ship let alone a battleship of this length needs to be totally straight or it will show up, there is no point in rushing just to be the first to finish, think about how you will approach your build, use this diary as ideas, don't think what I do is the be all and end all, it's not, but take your time now and the rewards will be massive at the end.
**********************************************************************
Below are some picture of the model so far compared to the plans, not the best pictures but it shows how big and beautiful this ship will look in 3 years time.


Looking great! Thanks for posting these step by step photos of your build, its a really good insight.
ReplyDeleteMany thanks, Mike
Thanks for your comments Mike, glad they are of some help, part 10 coming up today.
ReplyDelete