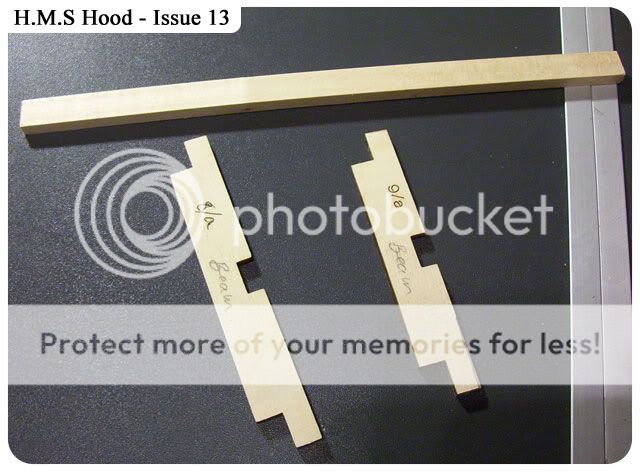
First thing I have to do is to change where I store these pictures.. Photobucket is a 'joke'..anyway onto more important things, what I would call 'false decking', make sure you get a sheer from the bow, see the pictures below. 3 part's on this ply fret are to be used later on, why don't they just supply them later??
Issue 14 show's aft superstructure.
Only 3 part's used on the model this week, the other 3 shown are marked up for a later Issue.
Just a reminder that parts 26a for both starboard and port are still yet to added.
Strut 61 looks bent in this picture..its not, I've taken out the beams at this stage.
And where we are on the plans.
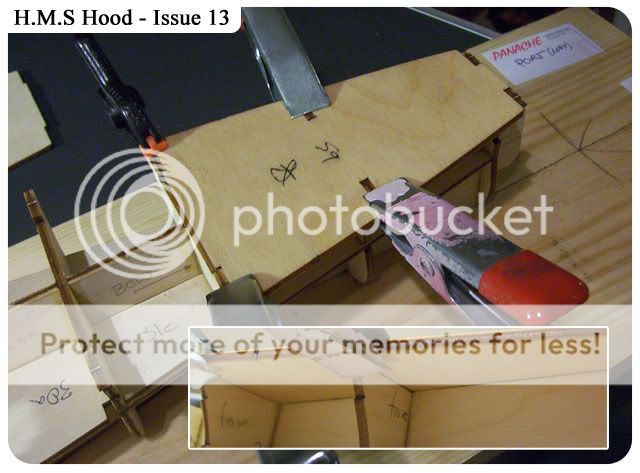
Start again by dry fitting part 59, for me it seemed to go in pretty easy, I checked underneath to be sure the false deck was in contact with the frames..I did find this part was a little warped, so I soaked it in hot water for an hour then placed on the model overnight with the clamps on.
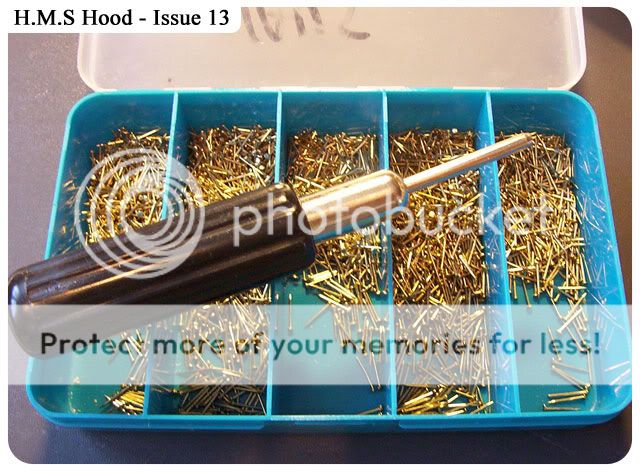
I then glued into place and used some left over nails, only 3 were needed, then checked the sheer (see small picture)
Same applies here on part 60, dry fit, then glue in place, adding 3 small nails.
If you look at the magazine instruction number 6 and compare where I have placed the arrows you will see in my model and probably yours this false deck overlaps the frames, very different from the mag's picture.


No comments:
Post a Comment