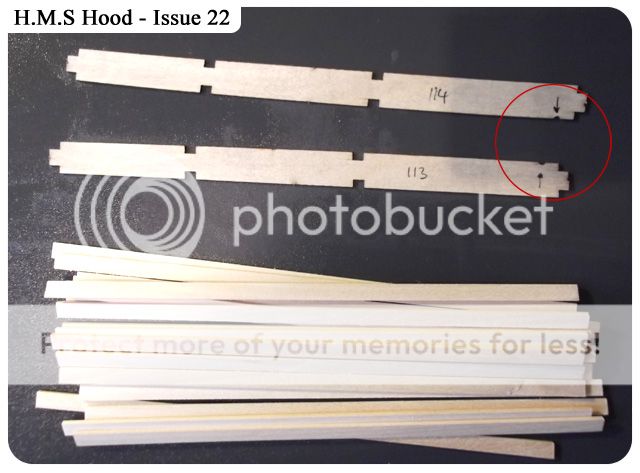
I've had some time today to progress with the planking, if you've not planked a model ship before the best advice that I can give is to find your own method that works for you, dry fit and try to have the planks held in place with anything other than your fingers. Preparation is above all the best option, you'll find the planks lay far better if you spend time fairing the hull. The instructions are a little vague in some areas but hopefully I can shed some light. Beware of parts 113 and 114, they have notches, be sure you understand where they are.
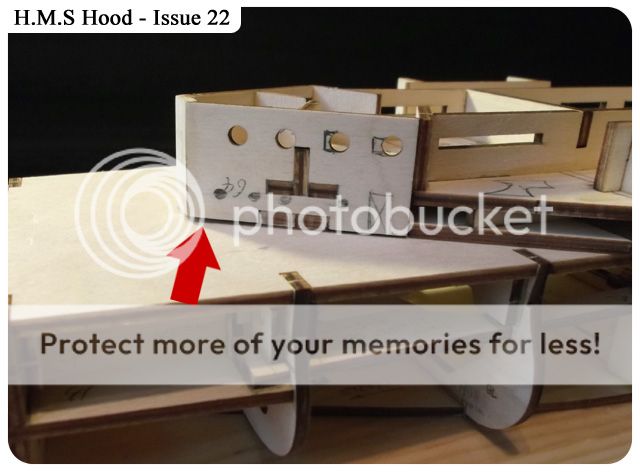
Before I started the planking I wanted to sort this little problem out now before it gets to a stage where I can't do anything, notice the gap under the structure, I've not built a battleship before so it's anyone's guess if the planking sheet goes under this or around it, personally I don't want that gap.
The areas circled and shaded red I sand a little to bring the structure down at the front, not a lot but small amounts and keep checking. As my model will NOT be R/C I can plan to have all this glued down at some stage, if your doing a R/C model then I guess you will have to think of another option.
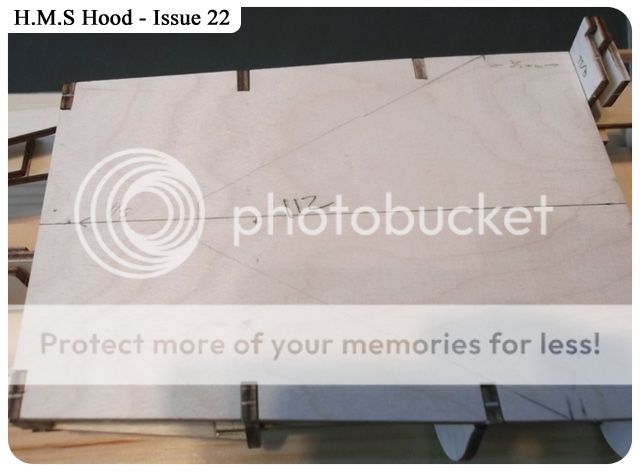
This is the other area that bothers me, I've traced onto card this area as I felt it wasn't symmetrical, I was right, its not, compare the top arrow showing 35mm and below marked, as you can see it comes out 3mm.
After measuring both ends of the false deck I can see the front end of the structure is centre, I'm happy with that.
As you can see this looks a lot better, inset show a small screw that secures it to the quarterdeck.
(this is my own adjustments and not part of the official build)
Try to mark the notches on parts 114 and 113, at least to remind you how it sits on the model.
It's time to take the model away from your build board.
After taking some time to fair you model (lots of sanding), that means by laying a single plank across the frames making sure they sit flat, if not then sand more, inset shows the bulldog clip I used to hold the planks in place, for this model they wont be very effective as they were on HMS Victory model, the frames are smaller and closer together.
Dry fit part 113 first to see if you need a little sanding of either the part (113) or as I've done the frames themselves, all I did was to sand the notches on the frames and lay part 113 on top and rub my finger across to make sure it was lying flat and flush.
Once your happy add the glue and pin, this part is very thin so take care. Complete both sides.
I found after adding parts 113 and 114 the model was moving around a bit, so I pulled out my pillow type thing, I used this to plank the hull of HMS Victory and found it to be perfect, I added the tea towel as the material was catching the wood. This now means I can have any position while planking and the model sit still and protect the frames.
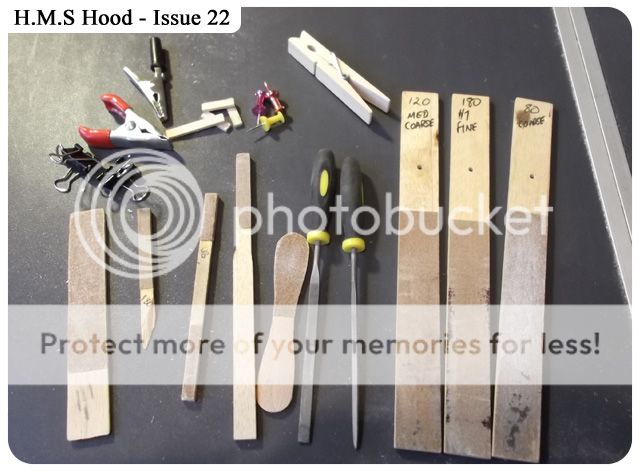
Some basic tool's (some home made) used for planking/sanding ect.
Part 6 of the instructions...frame 109 and 40, the inner parts, not the main frame.
Measure the plank and cut square.
I was going to super-glue the plank onto the hull but found it was hard to hold them in place, this is where you need to find your own method of securing the planks while they dry, I decided instead to use only the wood glue and drill pilot holes to then nail the plank.
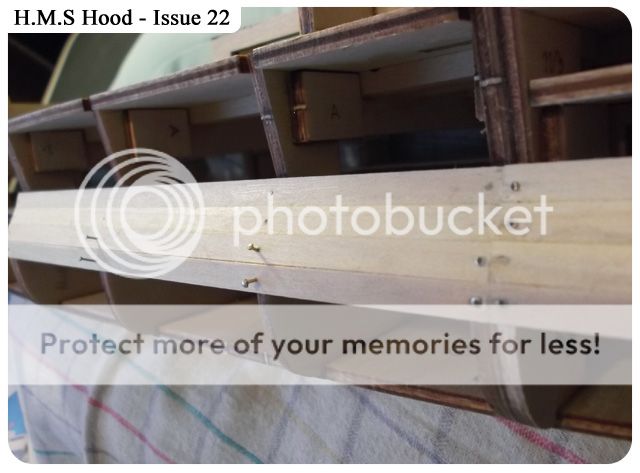
The instruction are again vague on showing where the first plank sits, have a look at the frames and you'll see a small ridge, as the picture shows I've added (dry fitted) a plank that sits inside this ridge, your first plank needs to sit below this guide plank, the guide plank is also sat further back than your first plank, it will also be taken away once the first plank is secured.
Notice the first row of planks are pinned in place and the guide plank just held in place on the ridge, keep your first row of plank in line with the guide plank. You will then have a perfectly straight row of planks to work from, every other plank now will be correct.
Again another guide plank sits inside the ridge on the frames ready to line up your plank.
The guide planks taken away and 2 rows of planking are perfectly aligned. Once the glue has dried the pins will be taken out, if a plank is not holding down correctly then hammer the nail in, this is a double planked model, it wont show.
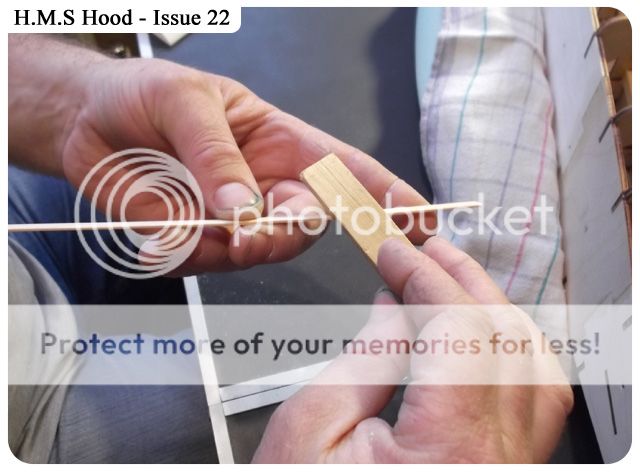
You will find as you progress down the hull with the planking that gaps will appear, after measuring and cutting the plank to the correct length I sand the edge of this plank where it will sit up against the previous plank... bevelling.
Simply hold the plank on an angle in your hands and carefully bevel the edge of the plank, it's trial and error on how much you bevel, small bits to start with, then offer the plank up against the hull to see how far you've gone.
Something like this is good, again its double planked so don't worry if you still have a gap or two, but if you can achieve a nice neat clean planking at this stage it will make your life a lot easier.
One side completed and sanded a little.
One thing I've not mentioned is where I glue my planks, adding a small blob of glue onto each frame but also run a small amount of glue on the edge of the plank, using a clamp to hold the plank while you prepare other things.
All planks glued and pinned, drying time???? as long as you can, before pulling the pins out and a light sand.
The other side completed, that finishes Issue 22, I'm a week behind now but the planking continues pretty much the same in Issue 23.


Drill pilot holes before nailing the planks is a good idea, no more tearing anymore. Im going to use it for the Bismarck. Thank you.
ReplyDeleteRegards,
Rein