I've incorporated quite a few pictures in this Issue, some with no text, the picture speaks for itself.
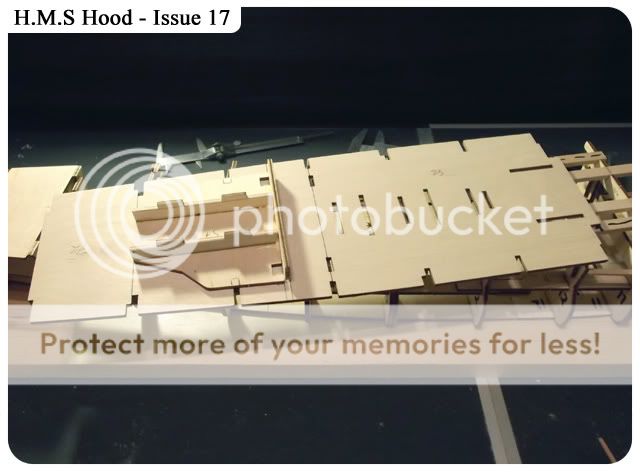
The main deck piece 73 plus from the previous Issues A - 76, B - 77 and C - 75, plus one beam that needs cutting.
Position on the plan.
Position of parts 76 on the plan.
Following the magazine instruction, similar to the previous Issue, be careful not to put too much glue near the tabs.
I've added my favourite weight and left it for a few hours to dry.
Pretty simple task of cutting the beam to 85mm.
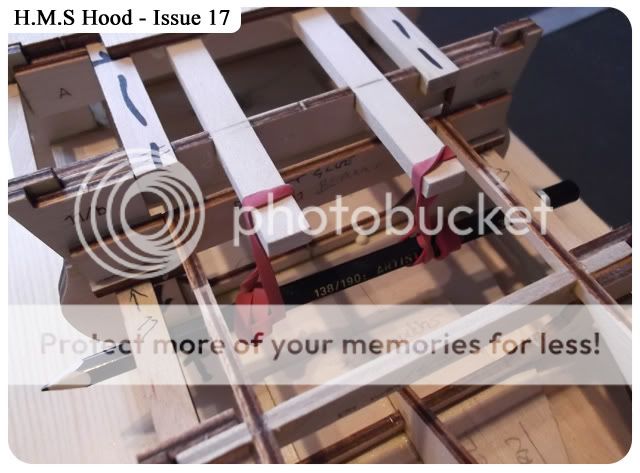
After dry fitting the beams it occurred to me they need some help, a simple jig that does the job just perfect.
The red arrow shows where glue needs to be applied under the decking we have just glued on (part 73), the jig help pull one end down and keeps the arrowed end up.
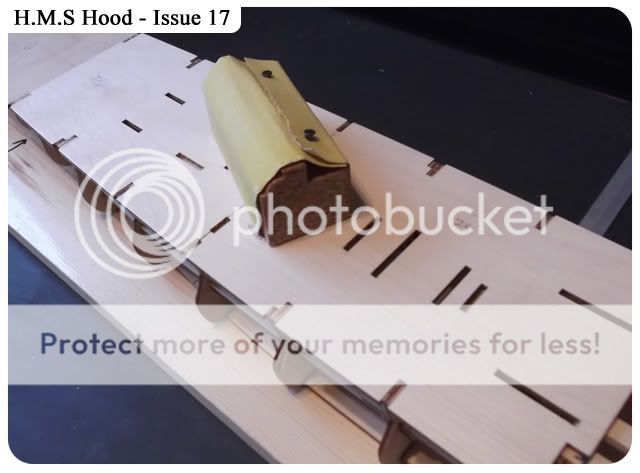
I decided while there is a clear surface I'd sand the whole area a little, special attention near the joints.
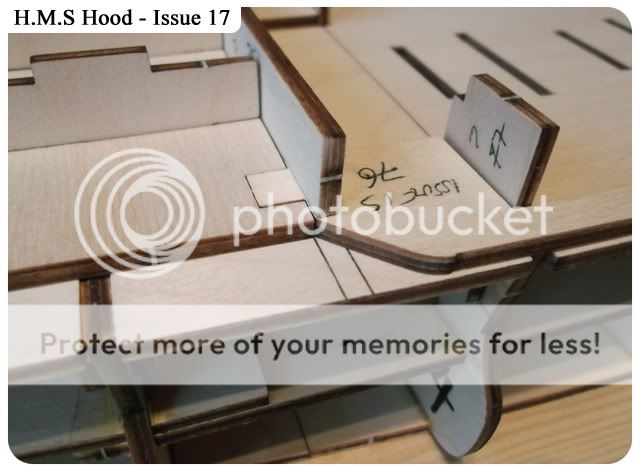
This is where I've deviated from the instruction, from the previous Issues I did NOT make up part 58, and Im glad I didn't as you will see. All just dry fitted here but with special attention to part 75 (wall piece) in relation to the height of part 58.
The red arrow show what concerned me about the height, the instruction say the sub-assembly (part 58) should be flush with the top of the wall piece 75....mine wasn't. So a little bit of sanding to do.
what convinced you that it was part 58 that was sitting too high on the parts 56, (that you sanded down), and not part 75 that was too low?
If I /we wait further on in the build to find out which part is correct we would be so far behind and unable to do quite a lot so I took a chance, I'm not saying everyone should but I was happy to make that choice
As I didn't complete this part early on I was able to sand down inside the tabs so the roof would sit lower, thus making it level with part 75.
Just a small amount of sanding underneath and I think the job was done, dry fitting all the time to check the level.
I'm happy with that, maybe a little final sanding once the piece is glued.
The base glued and clamped in place.
Only glue where needed, make sure you don't get glue near the open tabs.
Checking all is square...done
Once everything has dried I decided I wanted to check it was safe to try and take the whole decking off...it was, no tugging and pulling, in fact very easy, for those doing the R/C version that needs this deck it maybe worth adding some Vaseline inside the tabs?
The roof now glued on and sanded.
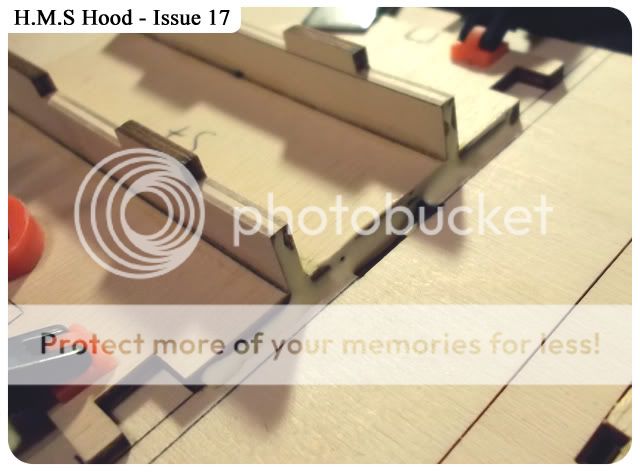
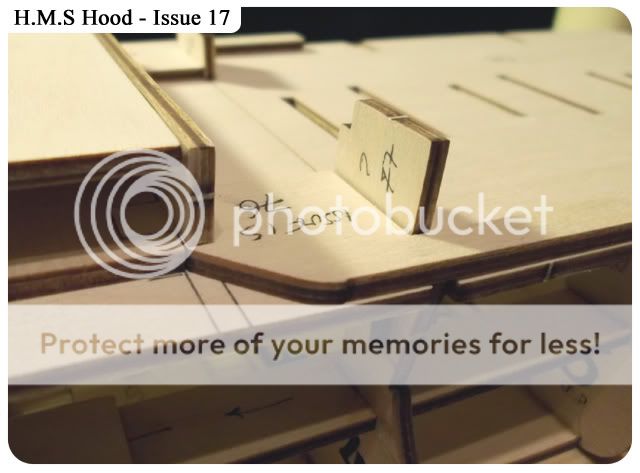
Ive decided at the moment NOT to glue into place these parts (77 & 76), I want to see how the next few Issue will position part 76.
So this is where we are right now, it's starting to take real shape now, I can't see what is in the next issue as it's too small but maybe some more superstructure?











No comments:
Post a Comment