I'm a little late with issue 19 but finally I've managed to find the time. This issues is a continuation of issue 18 and the forecastle compartments, nothing too taxing but just take the time to get the parts square, either follow my ideas or your own but time taken now will be worth it, pity they still call the parts 'wall pieces'..oh well!
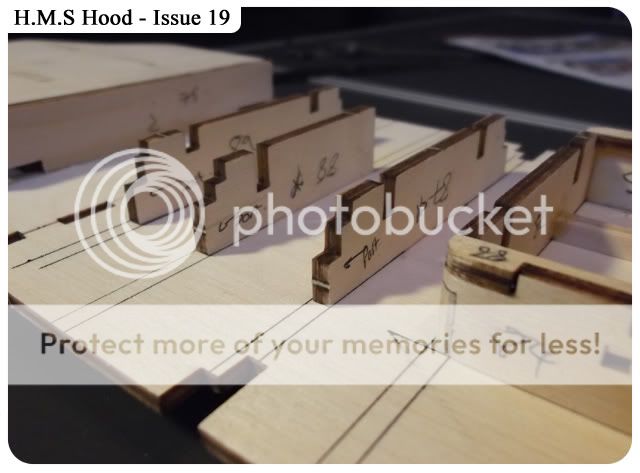
A lot of parts in this issue, worth marking them before taking them off the fret, be careful you don't loose the smaller part 94. The parts marked with a star (87, 88 & 89) are NOT symmetrical as mentioned in the magazine, don't forget.
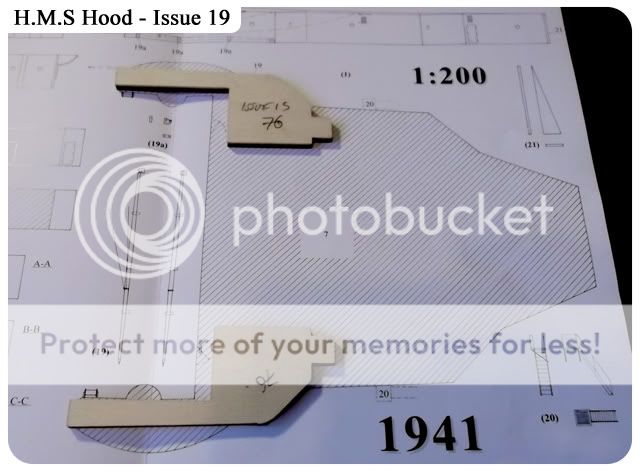
As I didn't glue into place these parts from a previous issue (15) I wanted to see where they are positioned and how accurate they are, by using the Profile Morskie plans (not 100% accurate but good enough for my needs) they seem to be pretty close in shape and size.
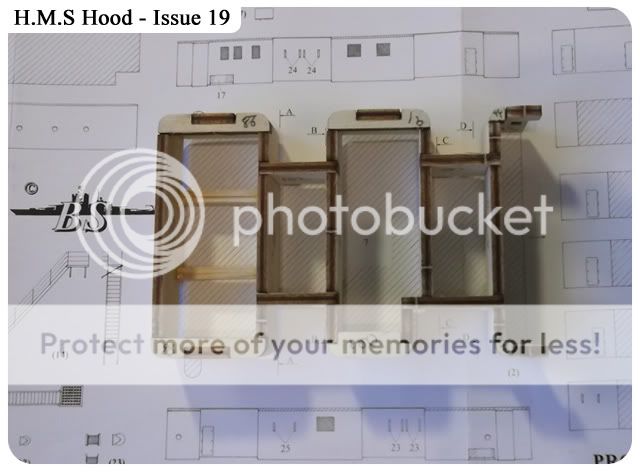
Last weeks parts laid over the 1.200 scale drawings (PM - Profile Morskie) showing how this weeks parts will make the full structure, as you can see there is a few more parts to be added further in the build (hopefully)
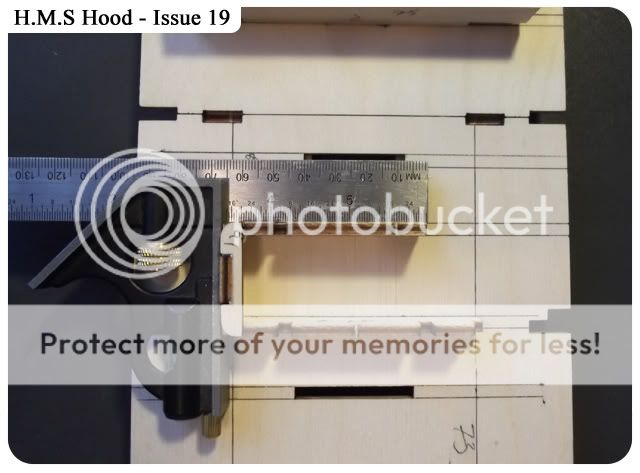
Before building the structure I've marked the area where the wall piece will lay, this give me 100% confidence the whole structure will be square.
The first 3 parts dry fitted and marked up to avoid getting them the wrong was around (marked 'port'), part 1 of the instruction show the correct positioning.
Issue 15 part's 76 glued into place.
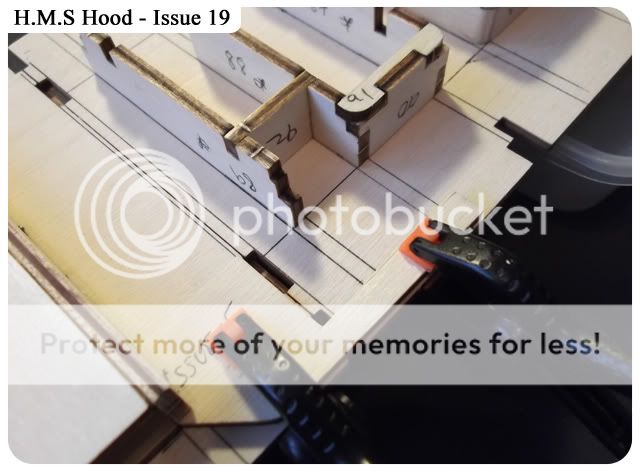
Take your time and follow the instruction, let the glue dry before adding the next part, if the glue is still wet it will knock the whole structure and become slanted.
Part 97 dry fitted to check its all square.
Compartments completed and left to fully dry before starting work on rounding the corners.
I used the same procedure as before to round the corners and that was to use my dremel, its so much easier than holding the structure in my hand and sanding with the sanding stick, less chance of breakage.
I will not be gluing parts 101 and 102 or the two completed structures to the deck yet, I feel it would be much easier to finish these away from the ship than glued to the deck.
The completed structure laid over PM plans.
A relatively easy structure to build, but still worth taking your time to get it all square. As you can see from the plans there are some doors and portholes and what looks like vents, as this is directly beneath the funnels that would seem to be correct. As you can imagine adding the P/E with this glued to the deck would be a task, so by having it movable until such a time that it needs to be glued would be the best approach..for me anyway, you decide your own route.


Hi Colin
ReplyDeleteCould you advise me where you got the plans from.
Cheers
Errol
Hi Errol, 2 sets of plans, one is 'Profile Morskie' a polish publication (with english text) not 100% accurate but handy for some detail work (backed up with information from other sources) the other larger plan was from the inside cover of the 'Anatomy of the Ship' book, I simple enlarged it to the size of this model.
ReplyDeleteCheers
Colin